Showing posts with label franken. Show all posts

Wednesday, October 5, 2011

Purple Color Morphing Franken- So Awesome!

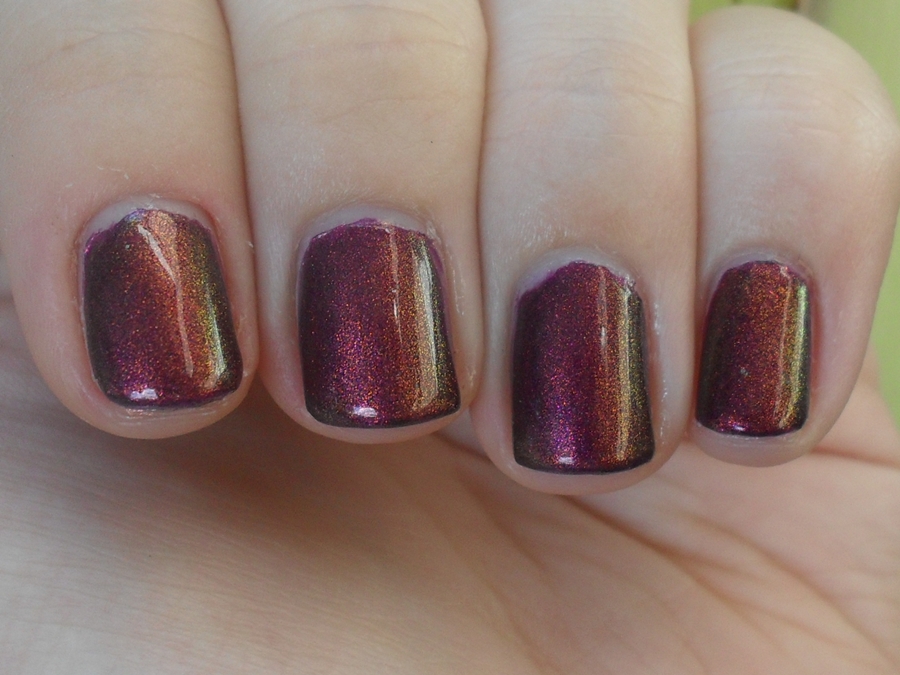
This post is pretty pic heavy (9 pictures!) for a post about one nail polish. Like I mentioned yesterday I bought some color morphing powders from More Nail Polish and they are fabulous! I know people always say this, but I can't stop staring at my nails. I even make my boyfriend look at them several times a day. "LOOK," I say, waving my fingers in his face. "Look at all the colors it changes to!"

Enough talk, MOAR PEEKSHURS!  Make sure you make it the end, I saved the best for last!

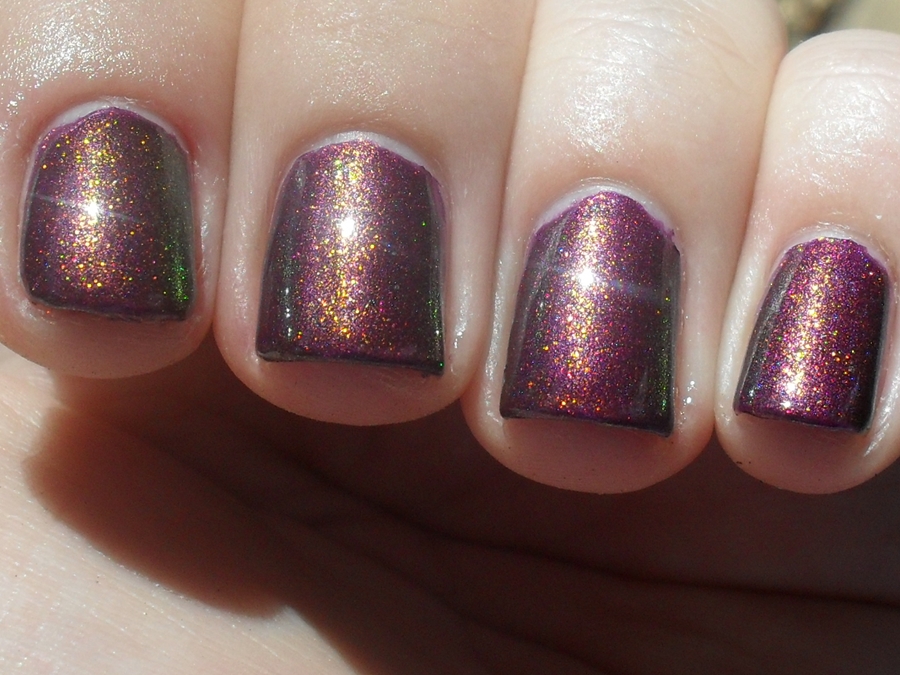
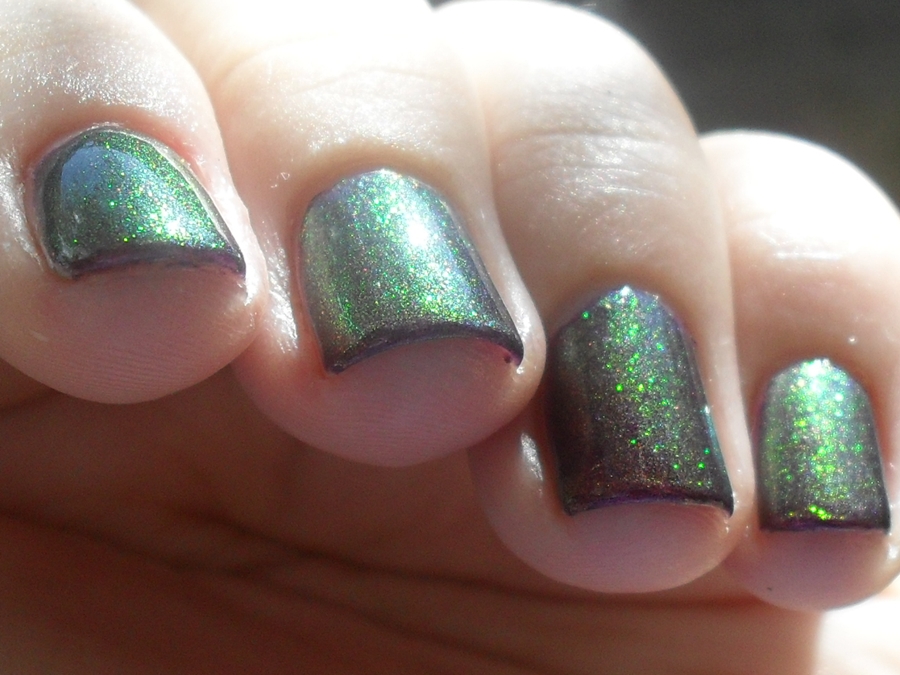
In the sun
This is pretty, but it's by far the least impressive picture.

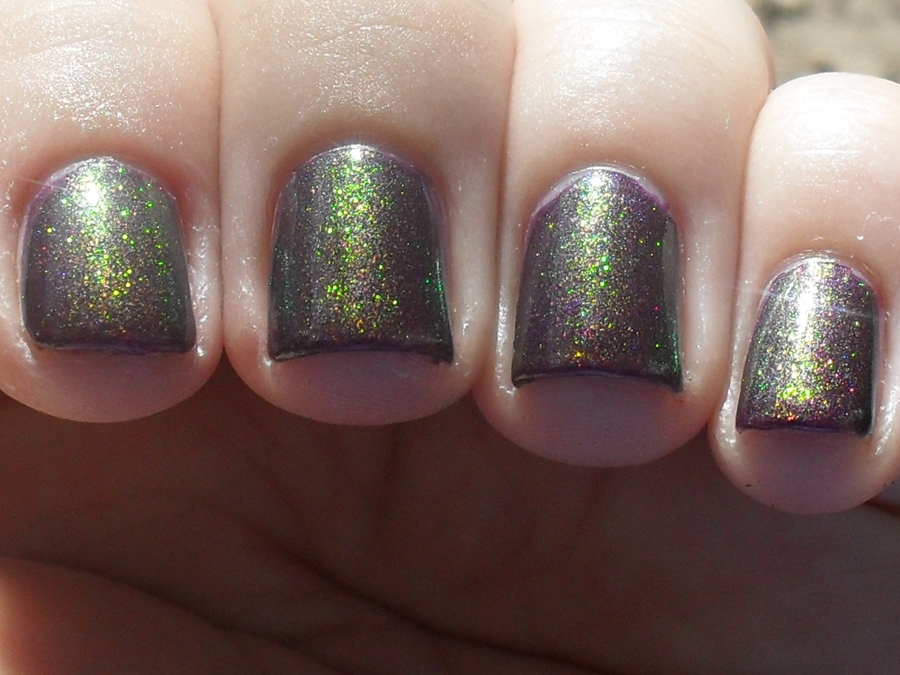
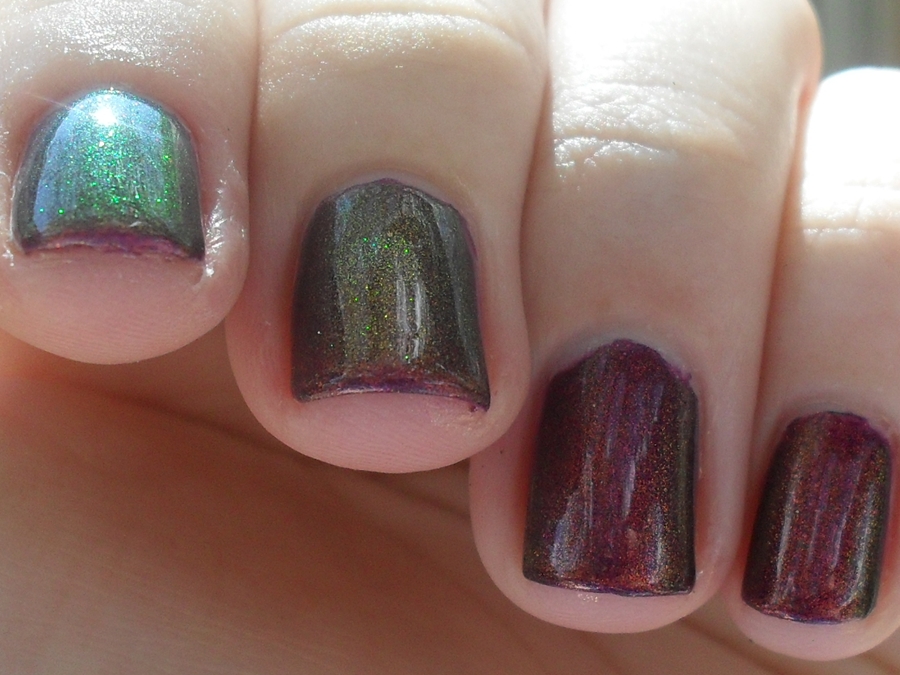
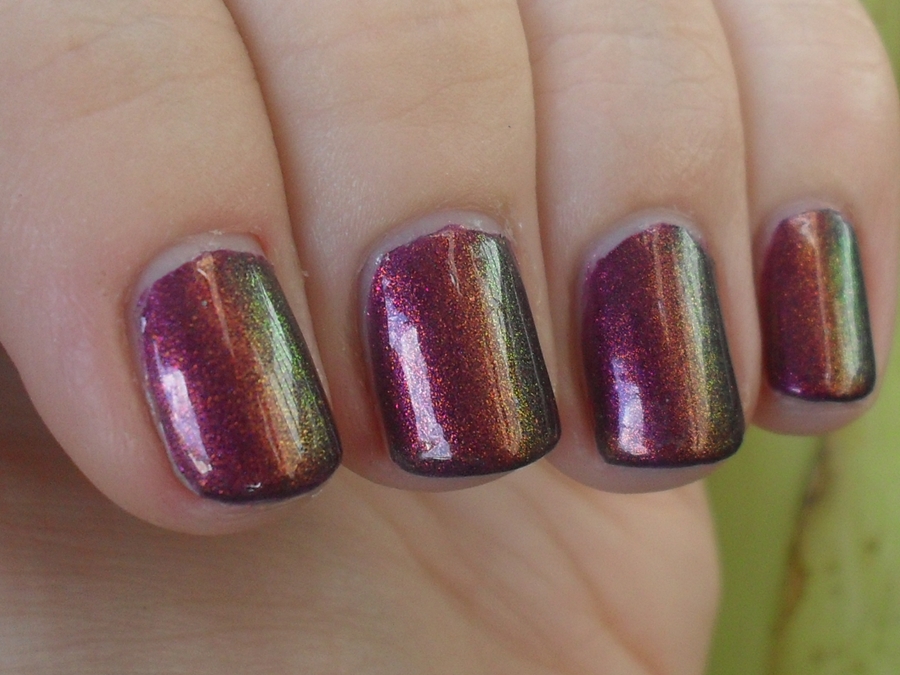
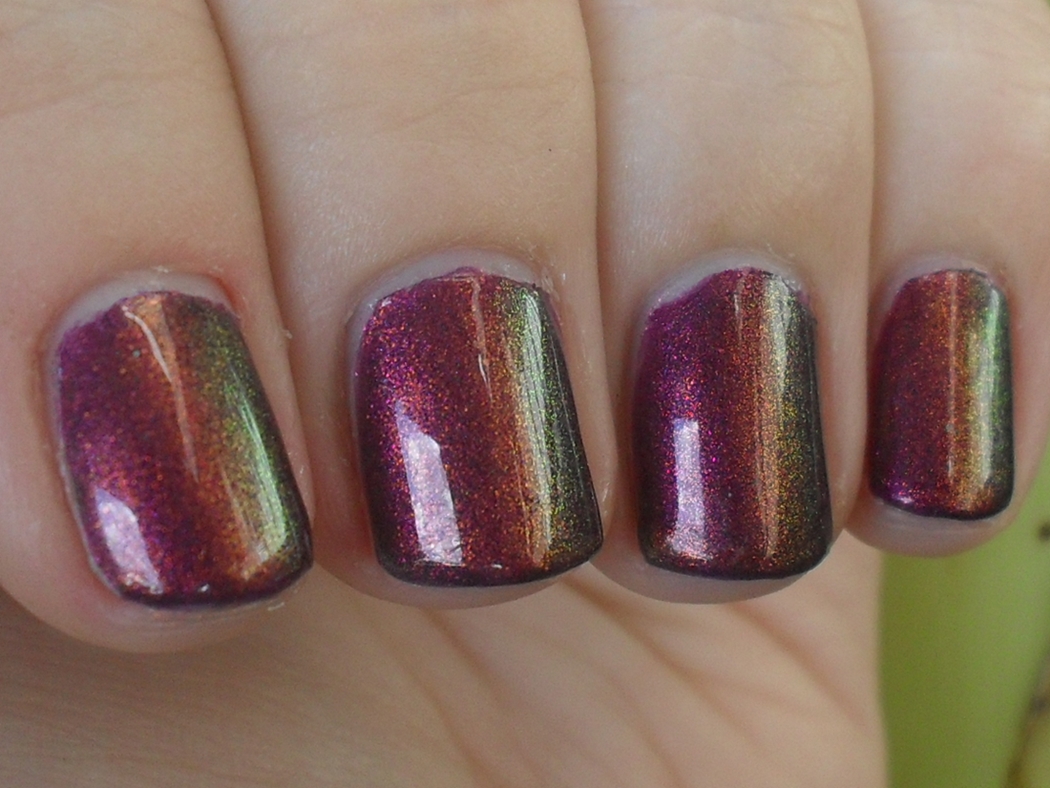
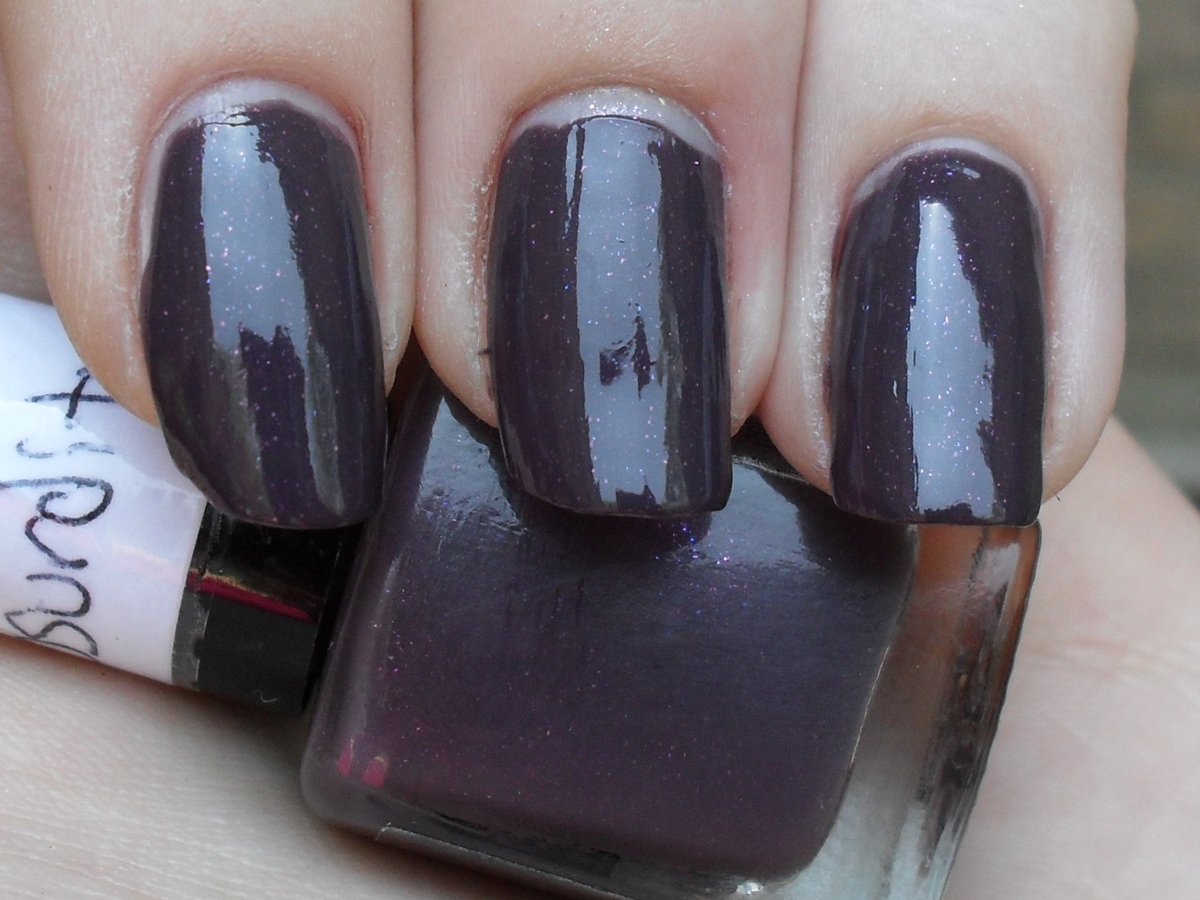
Oh, and here is what I used, just in case anyone is curious. I used a 5 ml bottle I bought from TKB Trading. This is actually 2 polishes. A purple base and a topcoat. They both have the color morphing powder in them. The purple polish is 2/3 Milani Totally Cool, 1/3 Wet n Wild Eggplant Frost and 3 to 4 tiny scoops of red to green color morphing powder. If I had to do it again I would use some clear polish instead of so much of Totally Cool. The fairly opaque base ate up the color morphing powder and the effect wasn't as strong. So I had to use a top coat which was just 1 or 2 scoops of the same powder in TKB's Glamour Base (a clear polish for suspending glitter/larger pigments).

In the shade
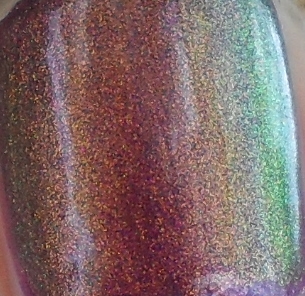
Macro of my huge thumb nail


Thank you for reading and have a great day/night/whatever!

Tuesday, October 4, 2011

I'm a Frankening Fiend!

So what I did today, in between studying for two exams, was make more frankens. I bought some color morphing powders (probably the ones used to make Unicorn Pee itself- Clarins 230) from Cathy of More Nail Polish awhile ago and just got he chance to play with them. The polishes themselves turned out amazing but I'm disappointed that my pictures turned out so blah and one-dimensional. Hm, maybe I can convince my boyfriend to buy me a new camera!
Anyway, I made 5. Once I start it's hard to stop!


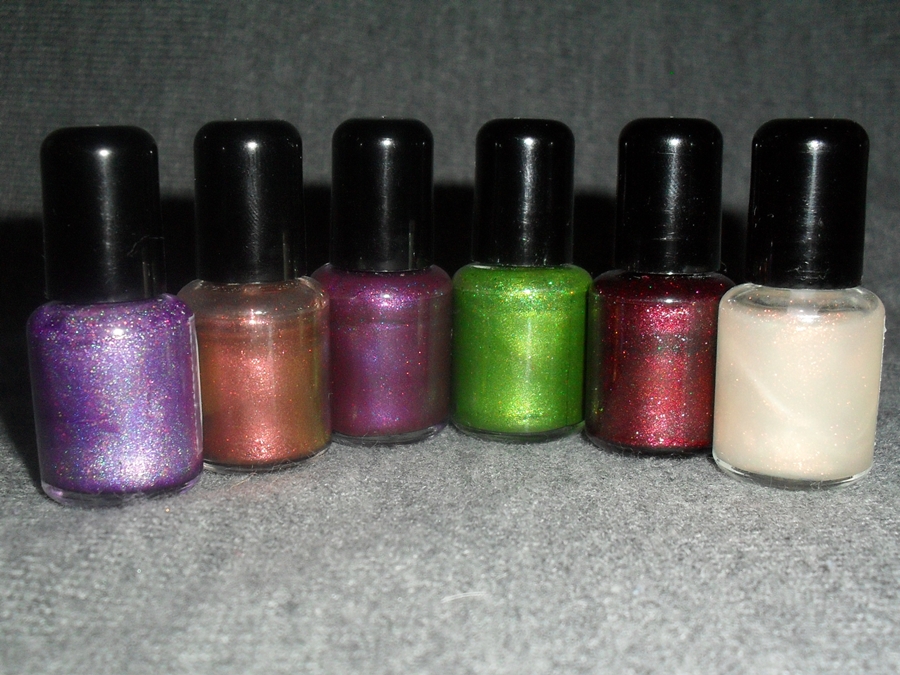
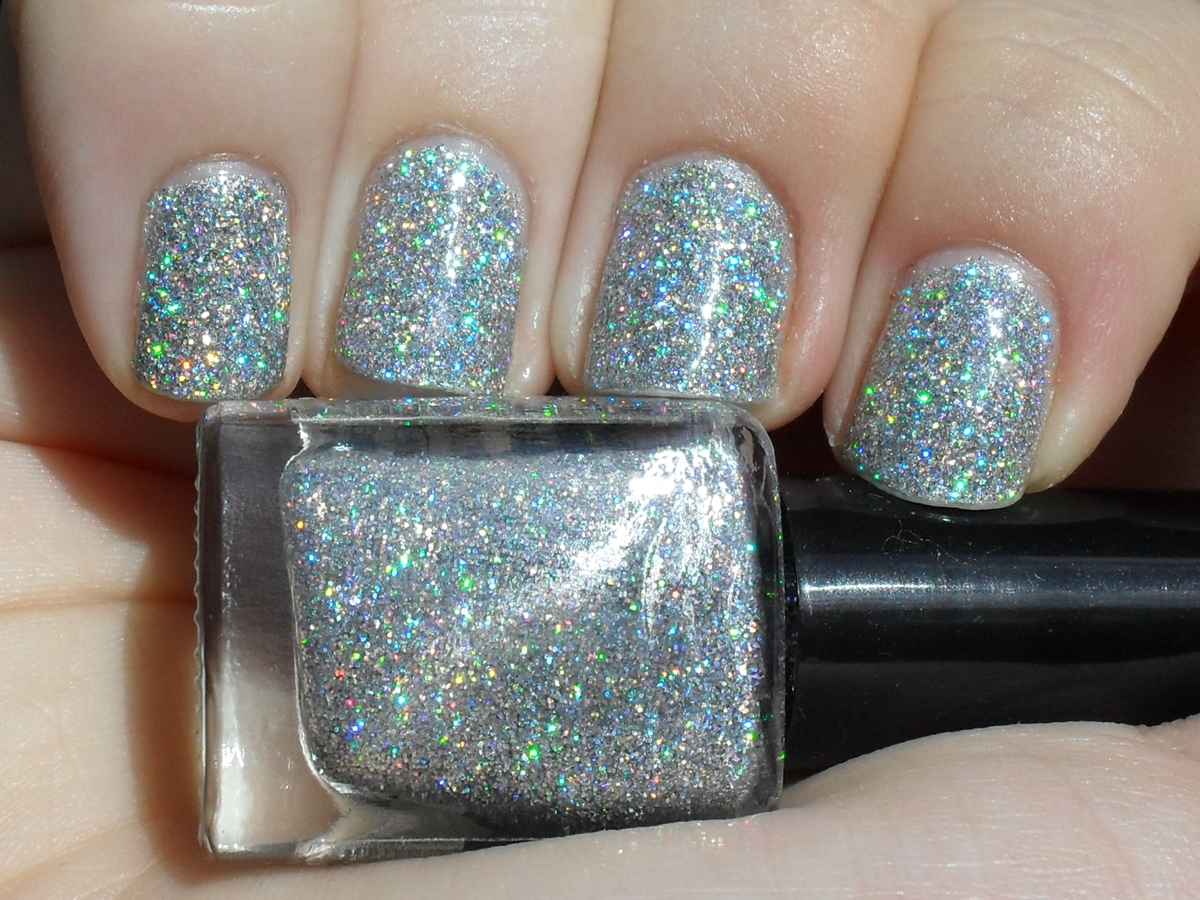
Ugh, crappy, crappy picture. The first one is holo. The second one morphs between gold to reddish bronze to green depending on the angle/light. The middle green is not that bright of a green; it's more murky. The last blah looking one photographed the worst of all. It's actually a top coat made with red to green color morphing pigment.

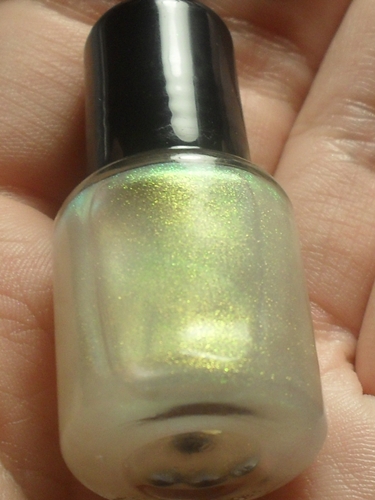
Here is a slightly better picture of the top coat franken showing its more greenish side.


I'm wearing the purple one third from the left in the picture above, but I need to wait until I can get some sun to take pictures. I've already made 15 frankens since I ordered my little bottles from TKB Trading. I ordered 30, which I figured would be more than enough, but I guess not! I'm obsessed!


Thank you for reading and have a great day/night/whatever!

Thursday, September 22, 2011

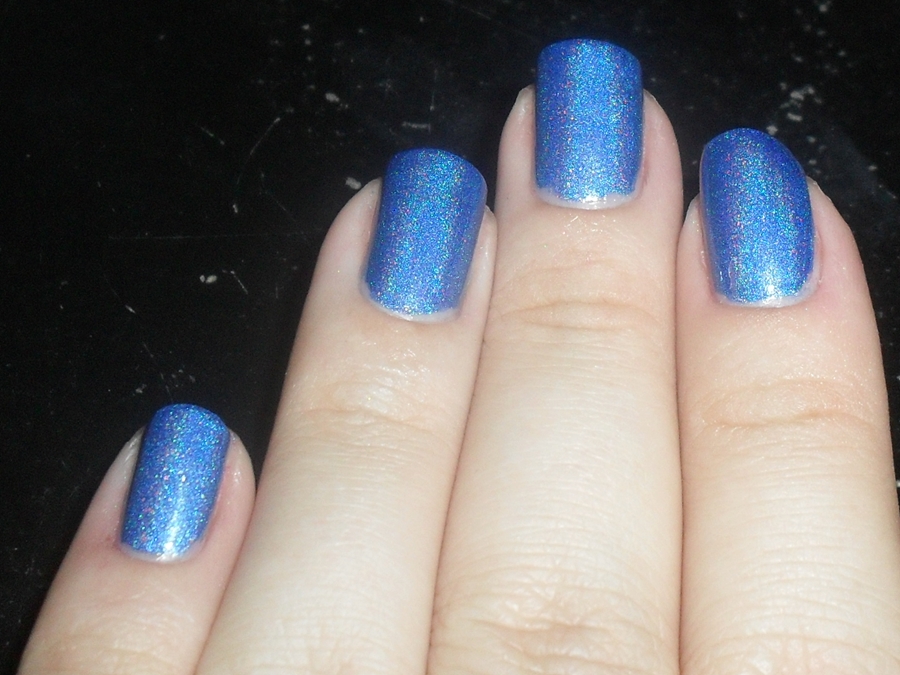
Holographic Royal Blue- SpectraFlair Franken

I love creating nail polish frankens. It really satisfies my need for a creative outlet that doesn't take a period of days to complete. I get bored with hobbies quickly, so I need something I can do fast and this certainly does it for me. Especially when making nail polishes as awesome as holos!

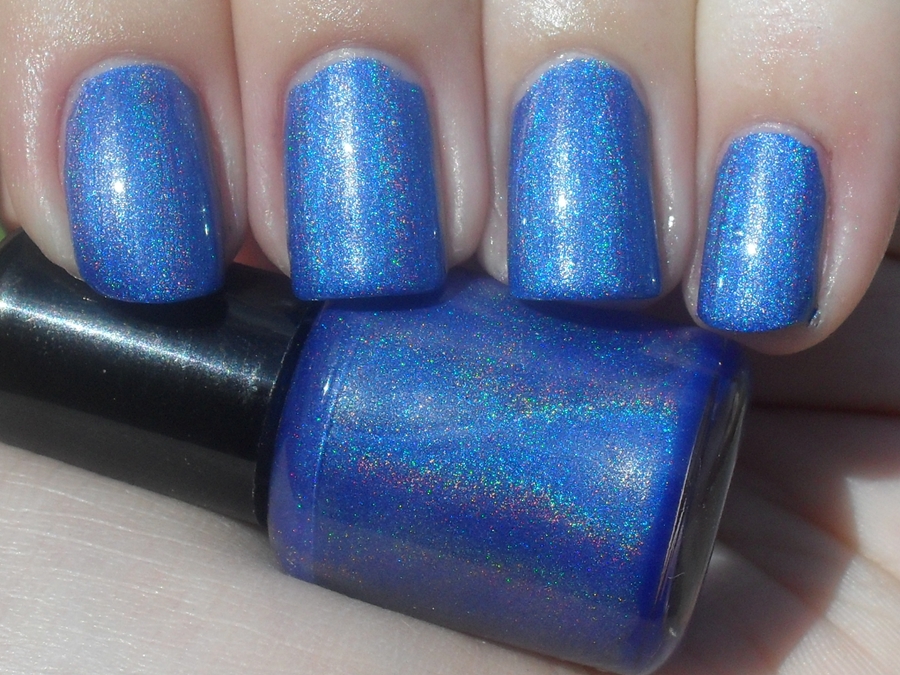
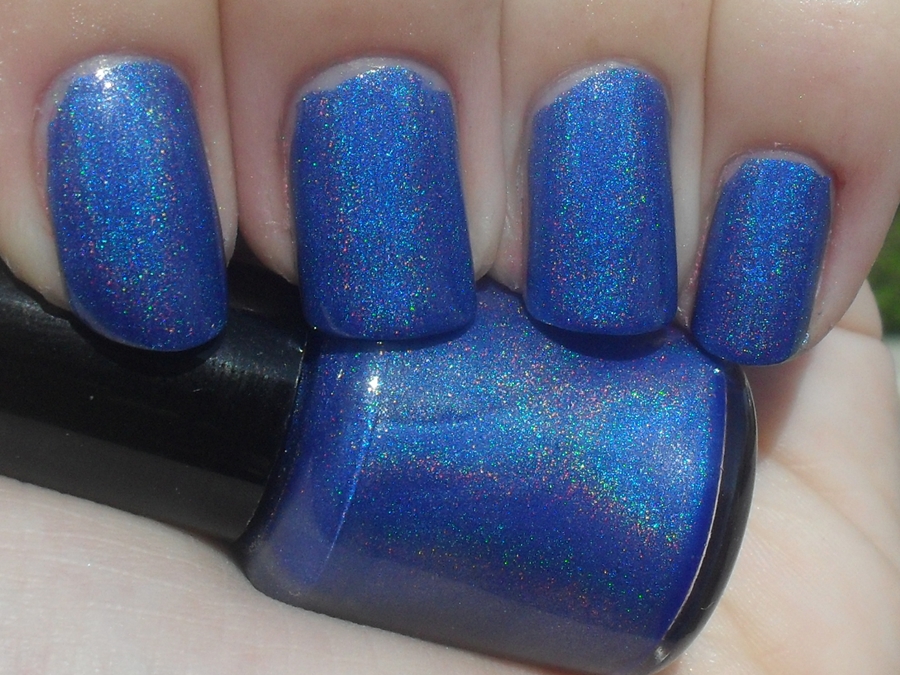
This was 2 coats with base and top coats.


This is my least holographic franken, but the effect is still there. Plus I absolutely love the color.


To make this I used 1/2 Revlon Royal, 1/4 Wet n Wild Blue Moon, 1/4 TKB Glamour Base (for glittery frankens), and a few tiny scoops of SpectraFlair.


The color in the shade isn't nearly as cool because you need light to see the holo effect, but I still like it.


Thank you for reading and have a great day/night/whatever!

Tuesday, September 20, 2011

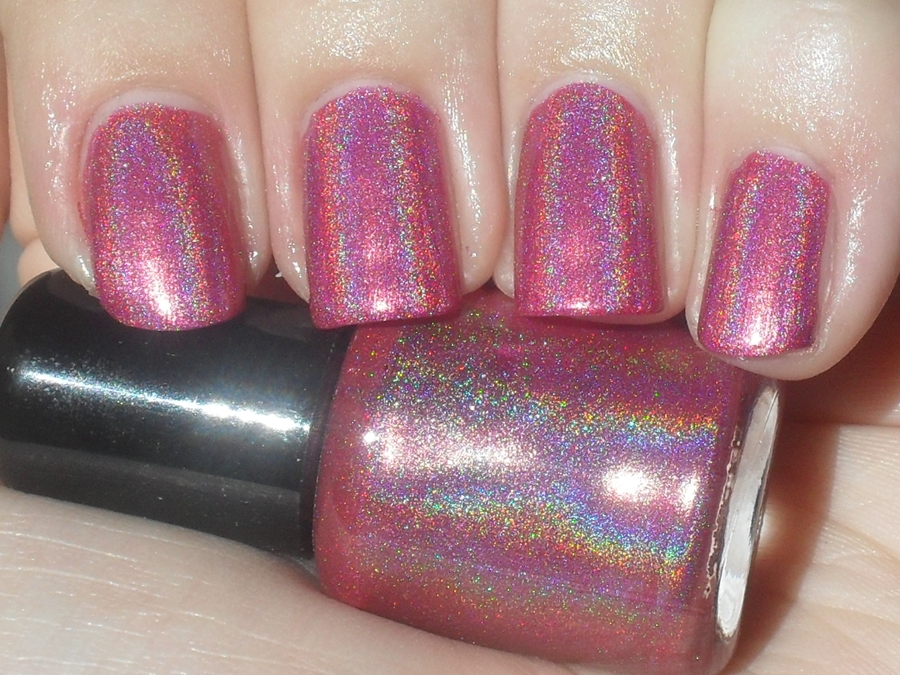
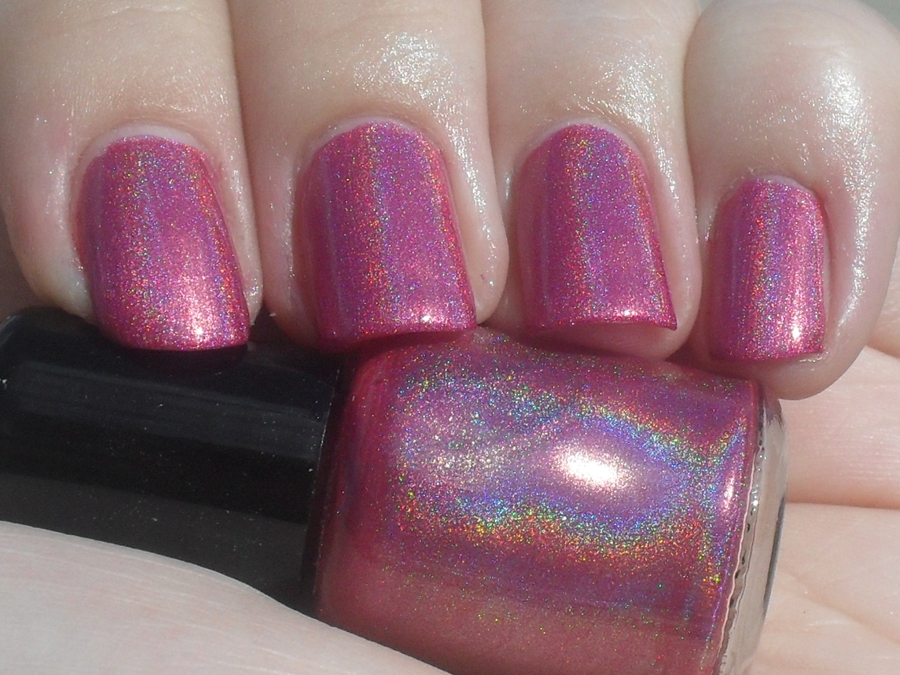
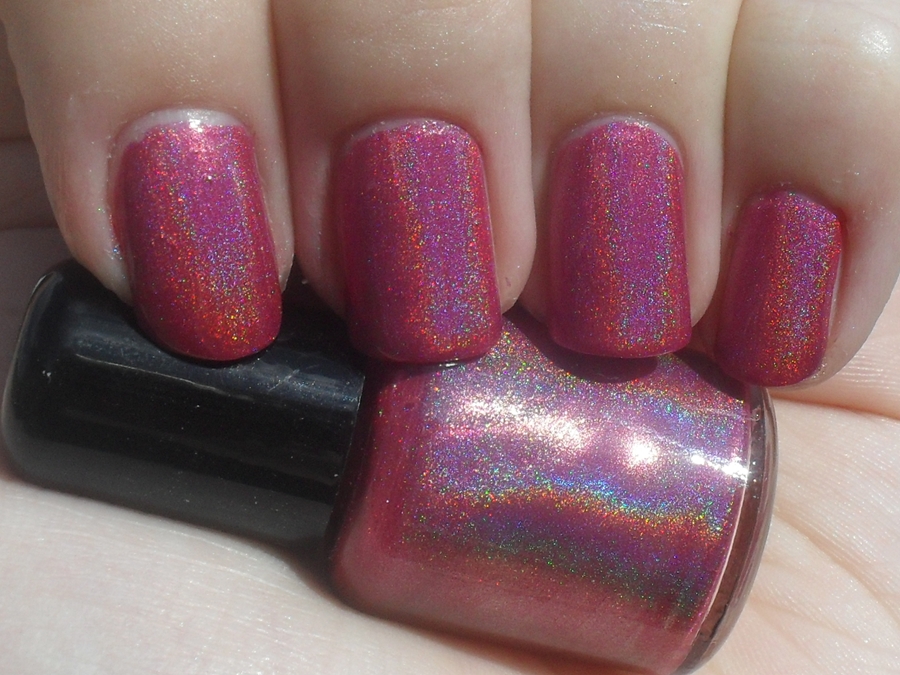
Holographic Raspberry Sorbet- SpectraFlair Franken

This one was not supposed to be pink. It was supposed to be red. But it seems pretty impossible to get a true red holo using SpectraFlair as it turns all reds into pinks. I even used orange-based reds and it STILL turned pink.

This was 1 coat (!!!) with base and top coats.


I don't remember the polishes I used to make this, besides that they were all red. Oh, and as usual a few tiny scoops of SpectraFlair and some glitter suspension nail polish base.


See other SpectraFlair frankens I have posted about here.


Thank you for reading and have a great day/night/whatever!

Tuesday, September 13, 2011

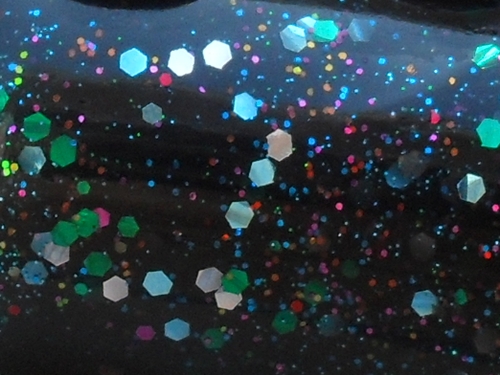
Black Jelly Glitter Puke Franken

My boyfriend convinced me to watch Goodfellas and now he's giving me the "hurry up" looks so I better hurry and finish this post. Doesn't he know that blogging comes before everything?!  This makes like 3 nail posts in a row, but I'm obsessed with making frankens.  So here is my black jelly glitter puke franken.

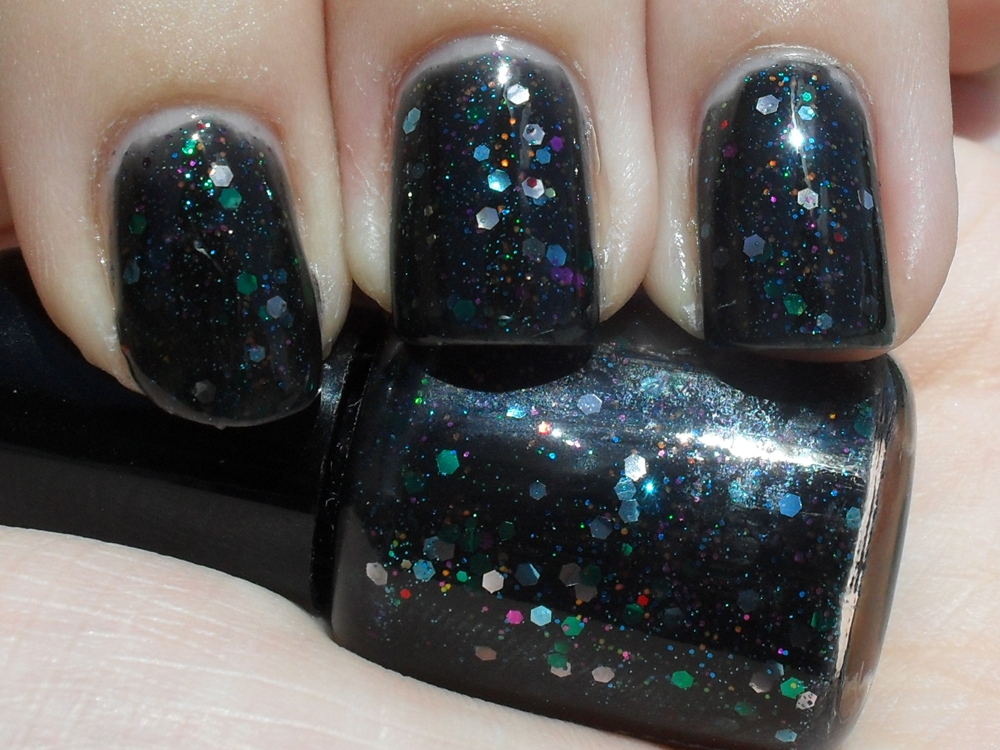
This is 2 coats with base an top coats.

Taken in the sun
Sorry for the bit of tip wear. I decided it would be a good idea to wash the dishes right after painting my nails.  It has a jelly finish but I only needed 2 coats to reach opacity.


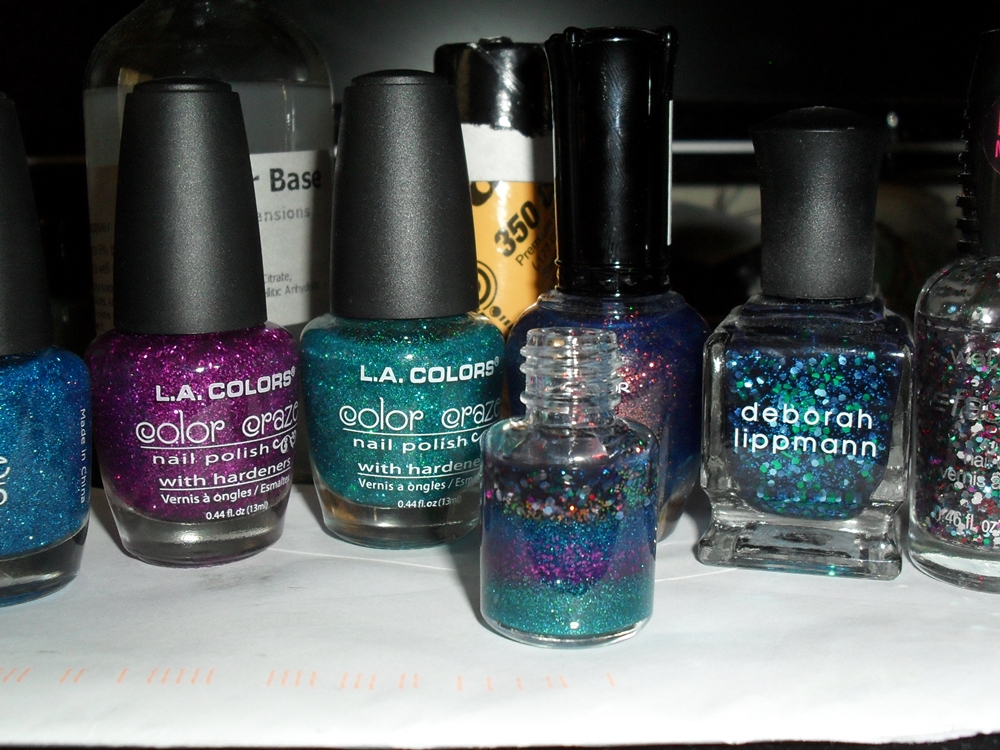
Remember this picture? All those 6 polishes in the background are the ones I used to make this polish, along with about 20 drops of a black creme.

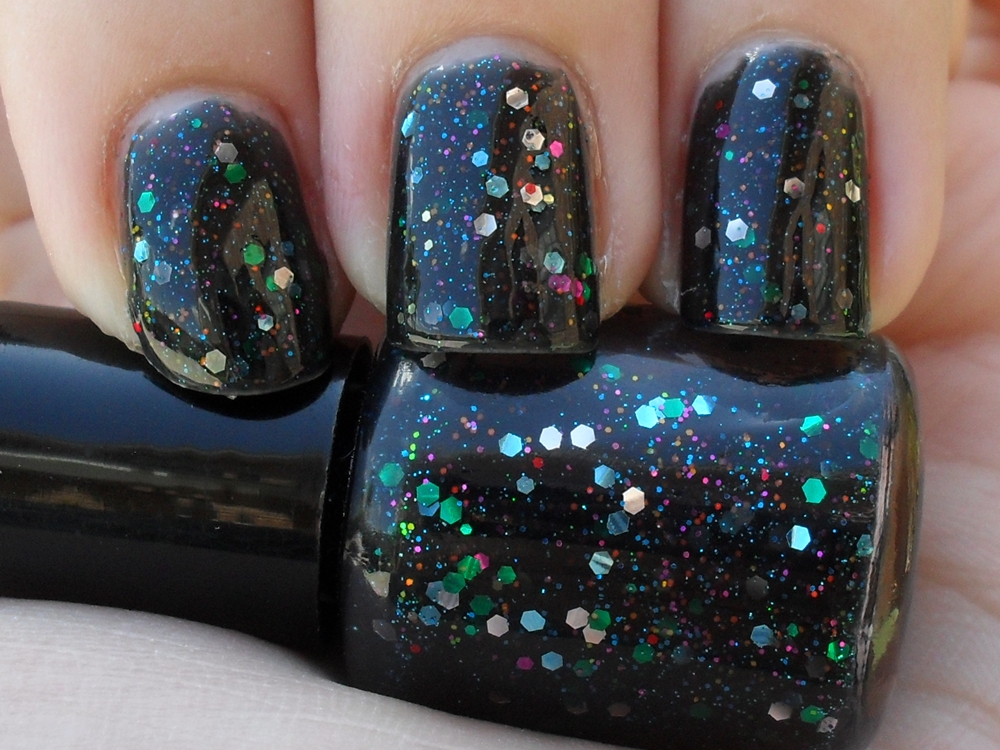
Taken in the shade.
This wasn't super lumpy either. I only needed one coat of Seche Vite to make it smooth and shiny.

macro shot

So what do you think? I've really been loving the holo frankens, but I like this one just as much or even better!


Thank you for reading and have a great day/night/whatever!

Monday, September 12, 2011

More Holographic Goodness!

I just saw the worst movie ever yesterday- Something Borrowed. Is there something fundamentally wrong with my femininity that I absolutely detest romantic comedies? This one was heavy of the eye-roll inducing romance with a dearth of the actually comedy. Thank you Jim from The Office for making it somewhat bearable. If it isn't raunchy or gory I probably don't want to see it. I would much rather watch The Hangover than The Notebook. Oh, and give me a zombie dismemberment scene any day over a "guy confesses his undying devotion to some whiny chick".  Haha, that stupid movie put me in a bad mood.

I'm currently wearing my glitter puke franken that I showed you yesterday, but I didn't have time to take pictures of it, so I'll show you an equally as awesome franken.

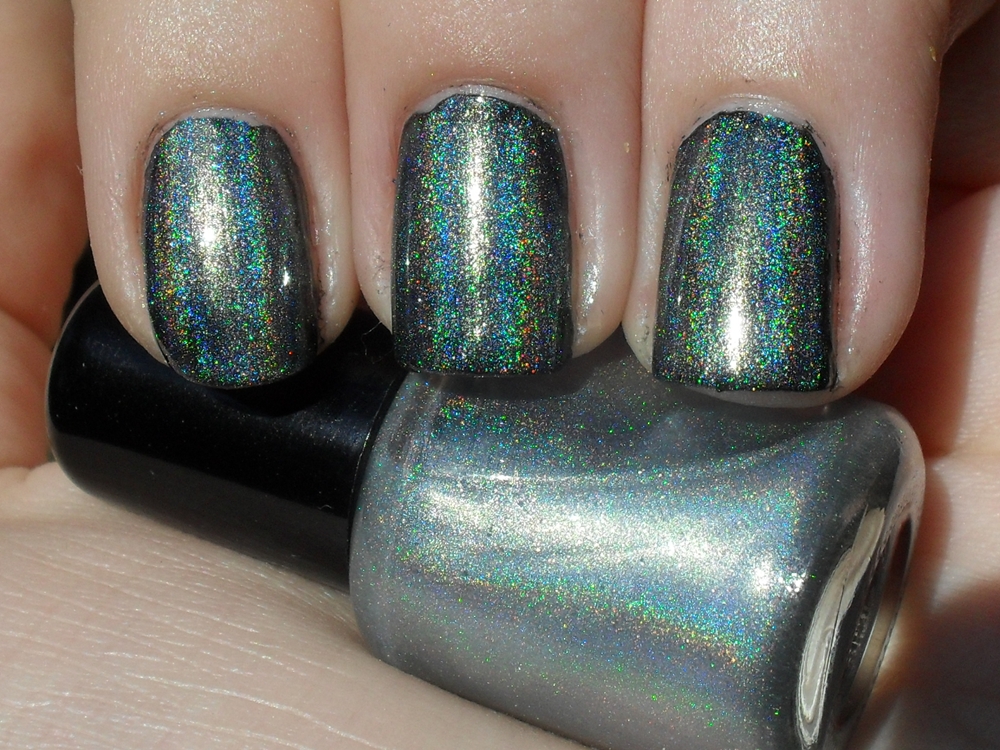
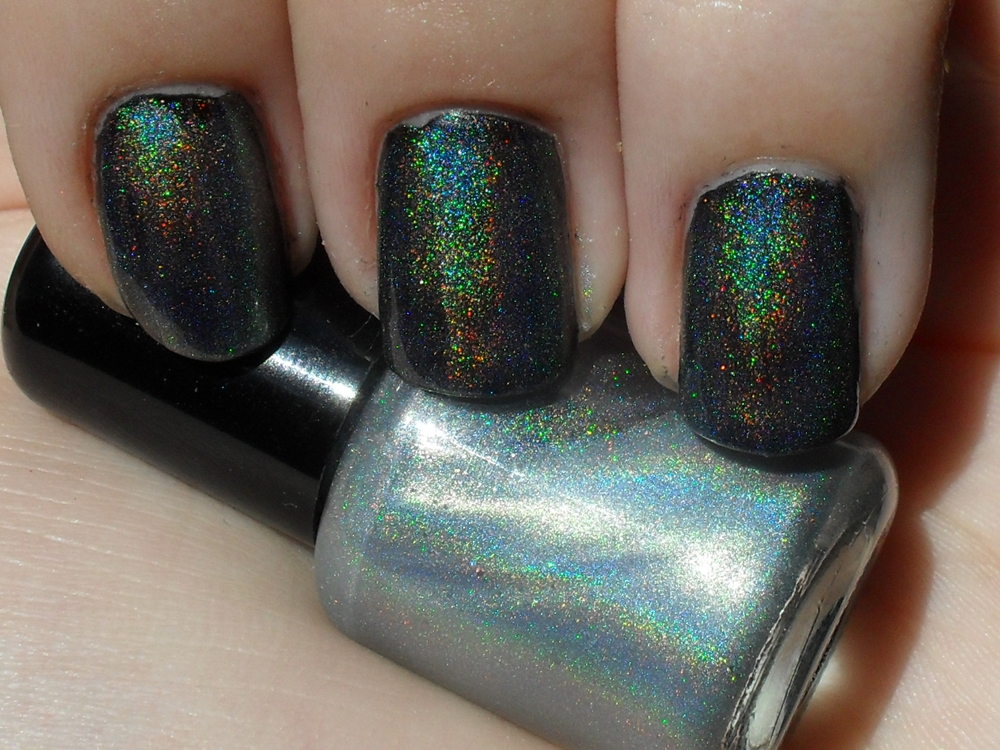
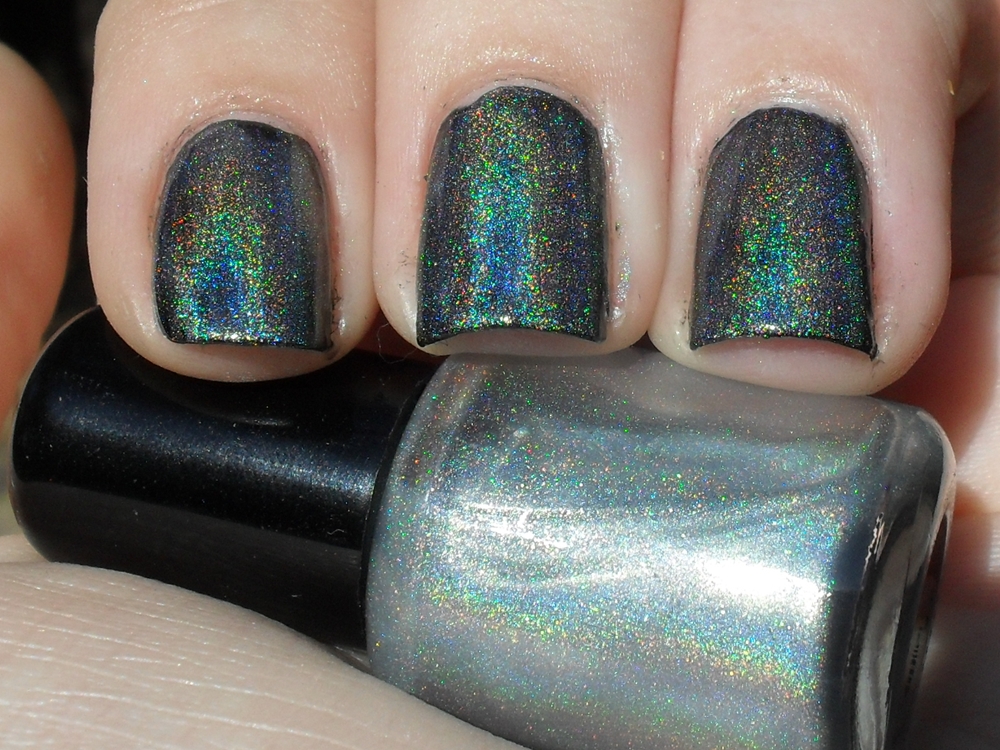
This is one coat over two coats of a black creme.


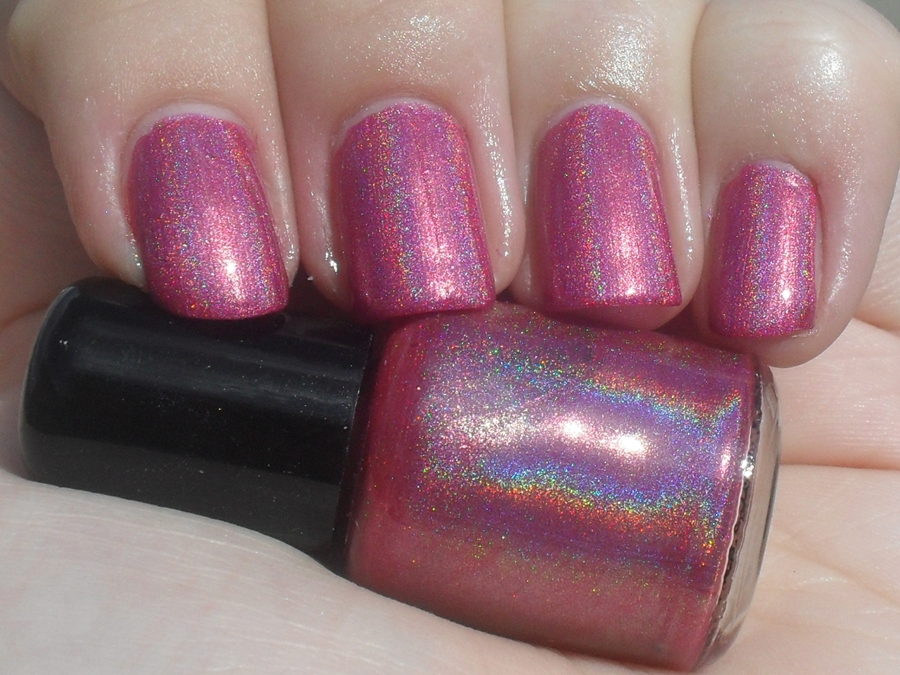
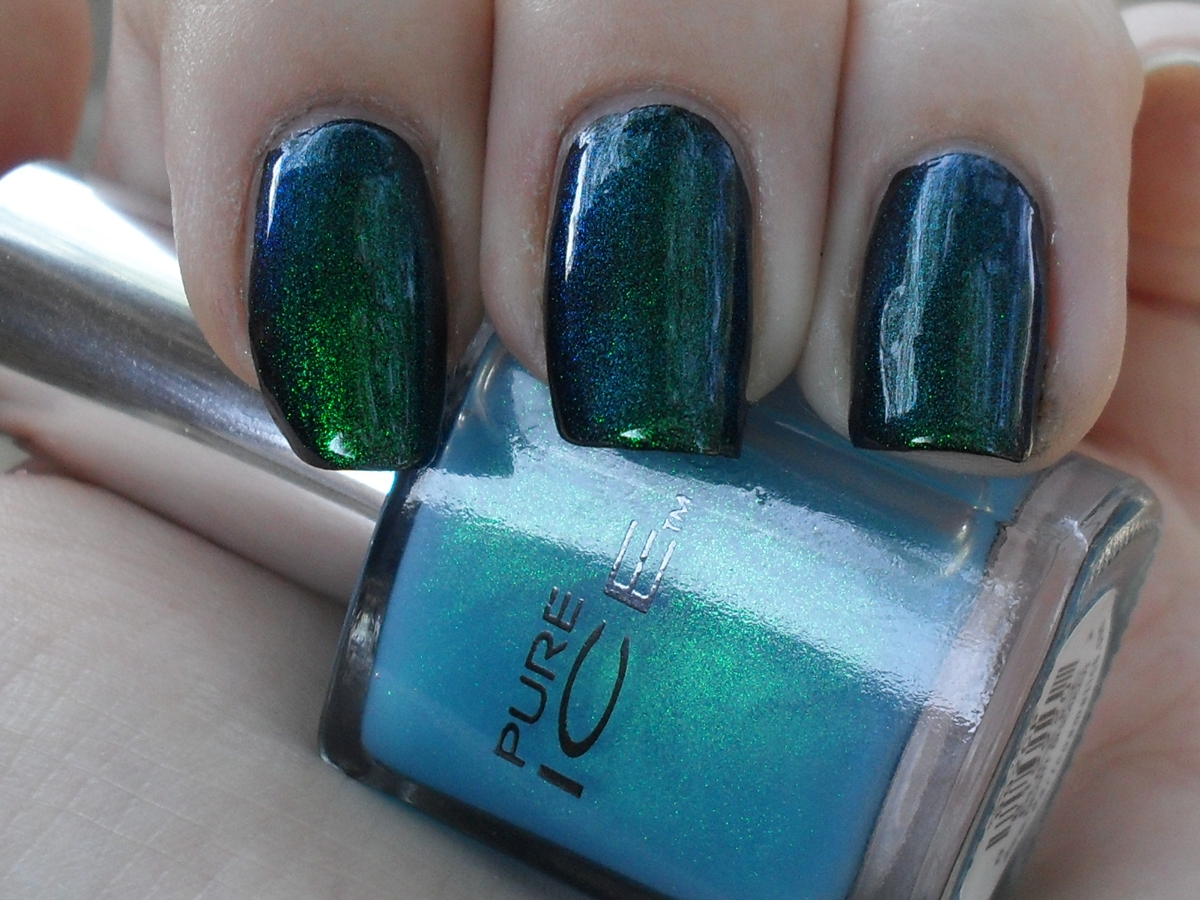
To make this I used 1/3 a clear glitter suspension base from TKB Trading, 2/3 Pure Ice Heart Breaker (here is a swatch of Heart Breaker over a black base coat) and a few tiny scoops of SpectraFlair holo pigment.


Using Heart Breaker instead of just clear polish as a base makes the inside edges of the holo-ness appear blue, which is why it appear blue-toned in the bottle instead of just silvery. And I couldn't catch it with my camera but in some lighting you can still see the blue/green shift from Heart Breaker.


And there ya have it. Hopefully I don't screw up my glitter puke mani so I can take pictures of it later.


Thank you for reading and have a great day/night/whatever!

Sunday, September 11, 2011

Glitter and Holographic Franken Creations

Thanks to the bestest idea ever by the most badass redhead on the planet, Robyn, I've been creating frankens like a mad woman. Because I've spent a whole day playing The Sims instead of doing the things I planned to do, I don't have any swatches for you. But the bottle pictures are still pretty cool. Most of them are holos, after all.

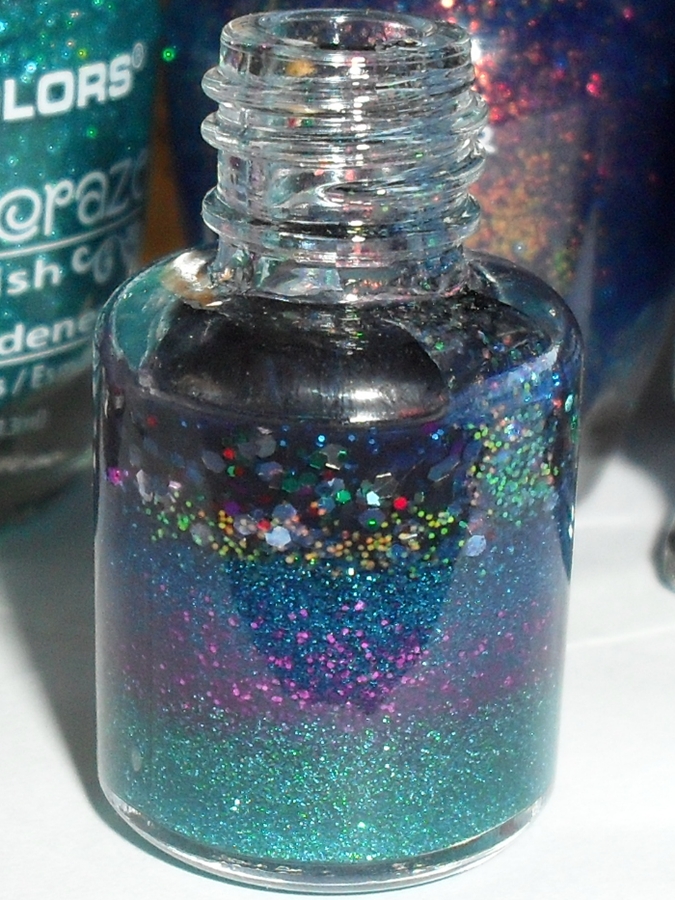
The first one isn't a holo, but I still luff it. It's pretty much glitter puke in a black jelly base.


I used equal parts of all the polishes you see in the background and about 20 or 25 drops of a black creme.  This was before I mixed it (you can see my little container of BBs I used as mixing balls in the background) and I love the way the glitter layers look.


This was 6 glitter polishes and I already have plans for another using as many glitters as I can manage to squeeze in.


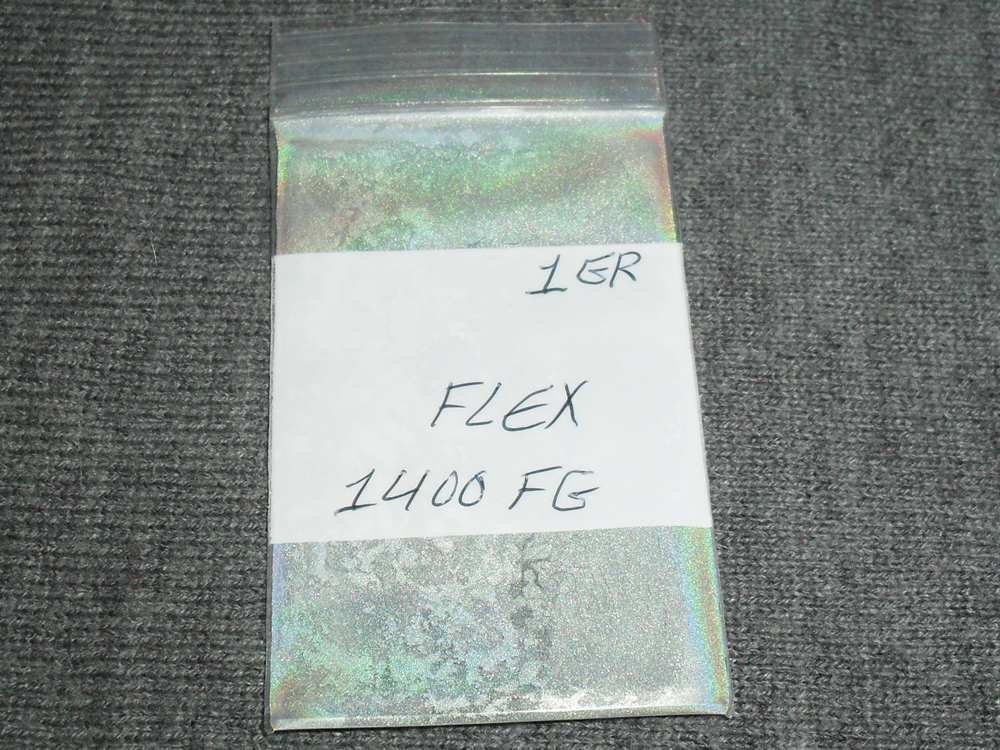
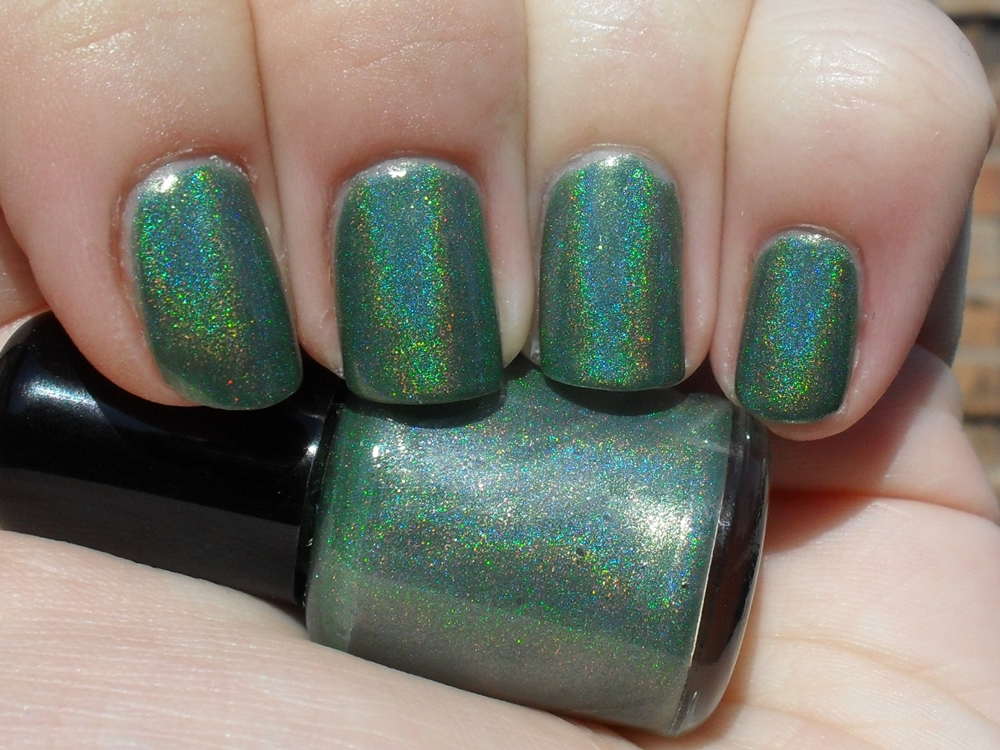
This is a baggie of the powder I use to make the holo frankens (here is my green one). It is what all the old really holo polishes were made with. I read somewhere, but can no longer find the post, that the FDA decided not to allow the use of the powder for cosmetic purposes any longer, which is why you no longer see those really pretty linear holo polishes. I read the Material Data Safety Sheet for this powder, and I'm fairly comfortable that this isn't going to harm me (unless I breathe it is, as it is tiny metal particles). Also this stuff is crazy expensive. 1 gram (this bag you see here) cost me $18. But you hardly need any at all to get the holo effect in your polishes.


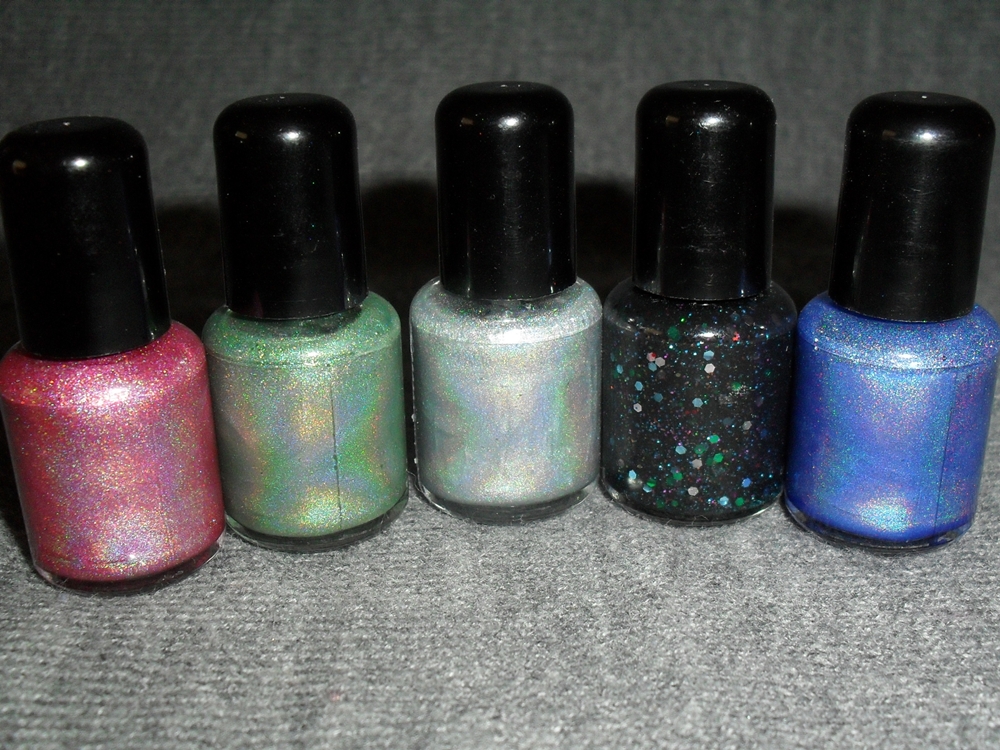
And here are all the frankens I've created in the past few days. I'm currently wearing the silver middle one over a black base coat, which I'll show you pictures of soon. I think I'll either wear the black glitter puke or the blue holo next.  And I have more idea for new colors too!


Thank you for reading and have a great day/night/whatever!

Thursday, September 8, 2011

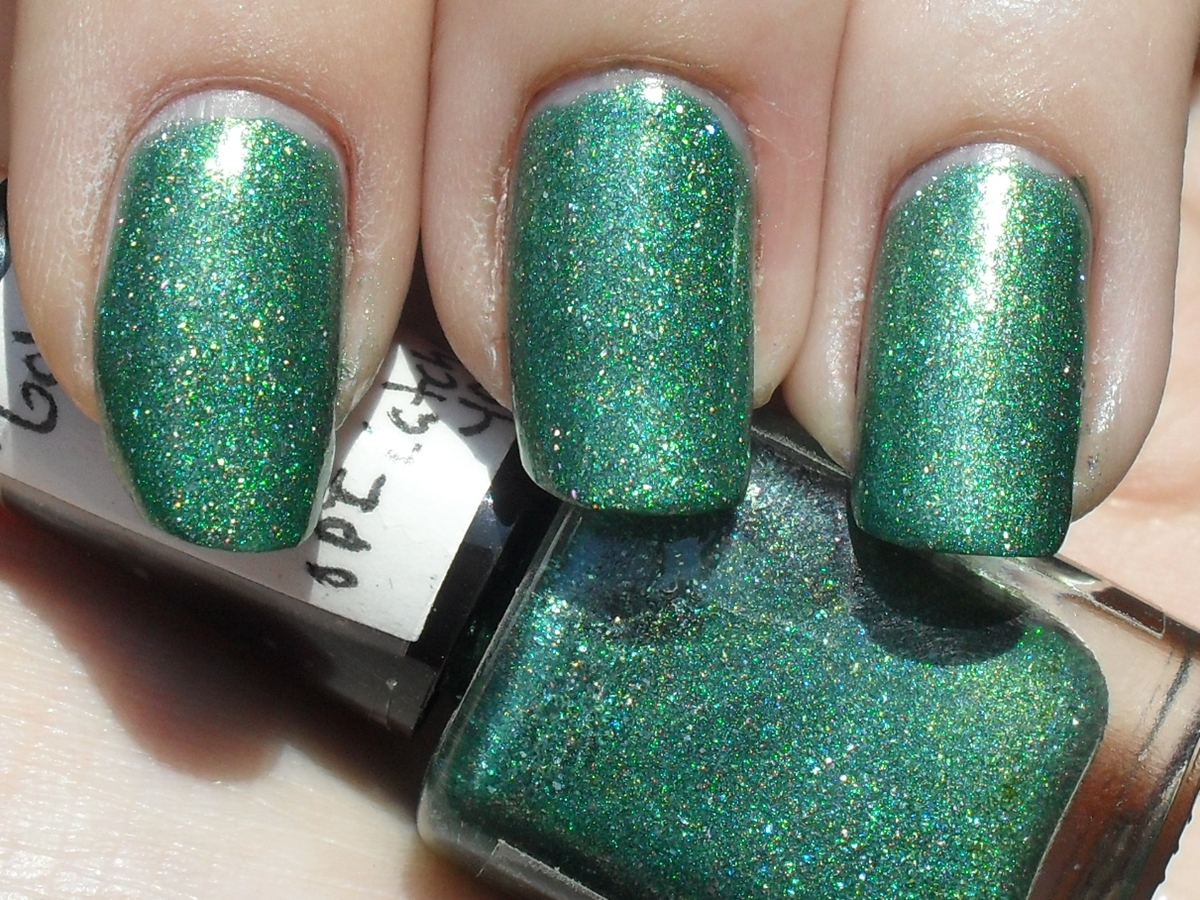
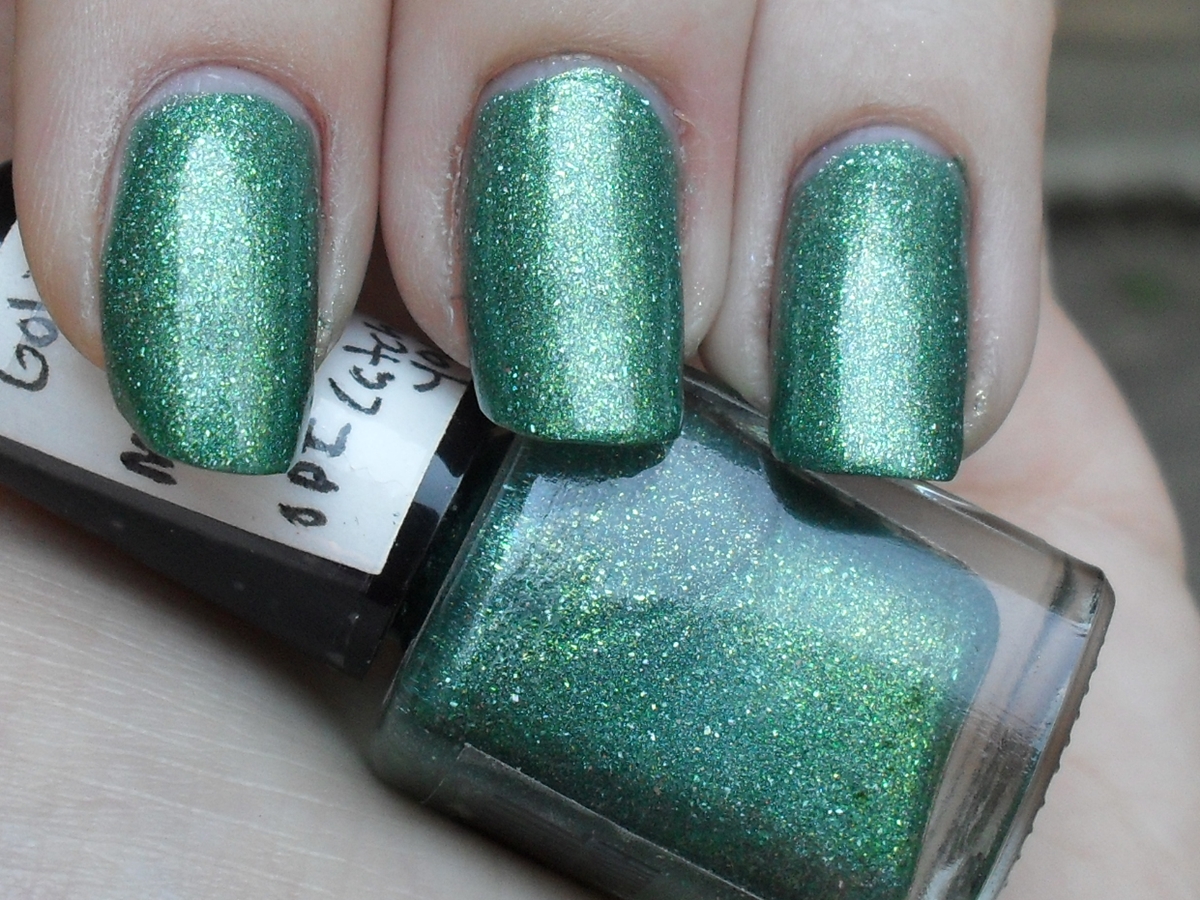
Holographic Green Franken Polish- "Bog Moss"

So the oh-so-amazing and beautiful Robyn of Stay Beautiful inspired me to create some frankens. I'm not the best at it, but I do it anyway because it's fun. I recently bought some holographic car paint pigment stuff called SpectraFlair that people use to make awesome nail polishes. This stuff is crazy expensive, like $18 a gram, but it is so worth it. you hardly need any to make a super holo polish. If you want to buy any (she also sells some really cool color morphing powders I should be getting soon. Just check around on her blog!) I suggest you do so from here- http://morenailpolish.blogspot.com/p/get-powders.html.

I can remember my exact recipe for making this franken. Of course I used the holo powder. I also used the glitter suspension base from TKB Trading (here) and mixed in some random polish colors. I originally started out making an orange but it looked nasty, so I somehow turned it into a green. I think the orange gave it a murky base color. I named it Bog Moss because that is what the color reminded me of. If bog moss was covered in holographic glitter, of course.

This was 2 coats with base and top coat.


Thank you for reading and have a great day/night/whatever!

Thursday, August 11, 2011

Nail Polish Frankening Supplies and A Neon Pink Franken

I'm the type of person that has a new obsession every few months. the current one is blogging, but hopefully I stick with it longer than I do other projects! My past obsession has included painting, sewing, soap making, lotion making, making friendship bracelets, making beaded jewelry, and more that I can't remember. And I'll cycle back through previous obsessions every so often, too. I have a closet full of supplies from these former hobbies.  The only hobby that I have ever stuck with in my entire life is nail polish and painting my nails. I'm going on 2 and a half years now of being obsessed with it, and frankly I'm kinda surprised I've lasted this long. And my obsession shows no sign of waning.

I still get the itch to create things, but I'm terrible at nail art, so creating my own polishes is an ideal hobby. I have been meaning to place an order at TKB Trading for supplies for the longest time, but have always got distracted an spent my money elsewhere (I get distracted by pretty things easily). So the other day I placed an order for 30 small nail polish bottles and a bottle of a glitter suspension base. You need this base for glitters because the glitter will settle at the bottom without it. For non glitter polishes I just use the 99 cent Wet n Wild clear polish.


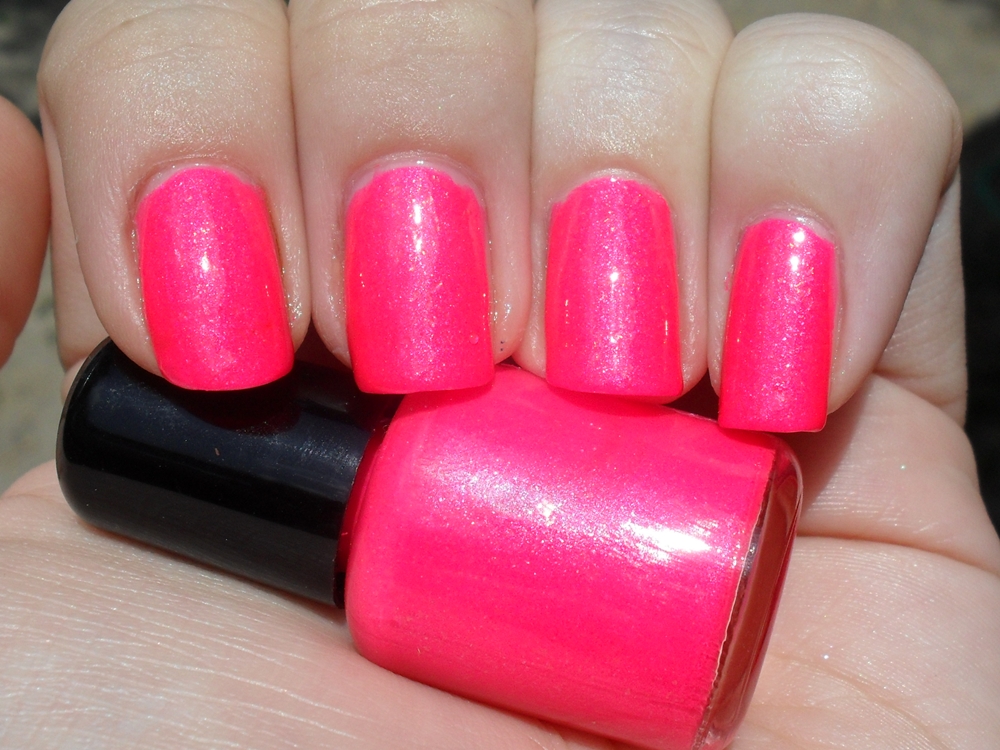
I was so excited with everything that I have already made 4 polishes. This neon pink one is my favorite, but my camera is a piece of shit when it comes to photographing neons. This is actually a neon shimmer with flakies. I used some of my precious bottle of Sally Hansen Hidden Treasure to create it. In real life you can see the flakies, but my camera freaks out and makes the polish as retina searing as possible and eliminates the flakes. It really is bright though, because it's a neon (it dries matte as neons do).


This was 3 coats.Ugh, I'm so frustrated I couldn't get a good picture! Well, at least this gives me an excuse to get a new camera sometime! This is 1/3 Sinful Colors Pink, 1/3 diamond Cosmetics Hot Summer Pink, and 1/3 Sally Hansen Hidden Treasure.


Here is where I bought my supplies from. I also have a little tube of balls (they're actually BBs, or metal pellets) from Walmart. You need these to help mix up the polish. They really do make a difference. I put 2 to 3 in each bottle.


Thank you for reading and have a great day/night/whatever!

Friday, July 22, 2011

More Frankenpolishes!

Do ever have one of those weeks where you question everything? For some reason I'm feeling especially out of whack and with that comes the self doubt. Am I doing the right thing with my life, am I making the right decisions, what if I'm doing all of this and I end up hating my life.  My life seems to be composed of "what if"s and doubts.  It's probably because I'm tired.  I haven't been in the best shape for most of my adult life, but I didn't know how bad out of shape could be until after surgery. After a regular day I am thoroughly exhausted.  I keep hoping it will get better but it doesn't.  I need to get off my fat bum and DO something about it.  That's the thing about me, I'm very active in my mind and always plan on doing things yet it somehow never happens.  People say that the road to hell is paved with good intentions.  Well, I'm glad I don't believe in hell or I'd be knocking on the door about now with all my intentions!

The damn weekends go by too effin' quickly, but thank gawd it's FFF (finally fucking Friday)!

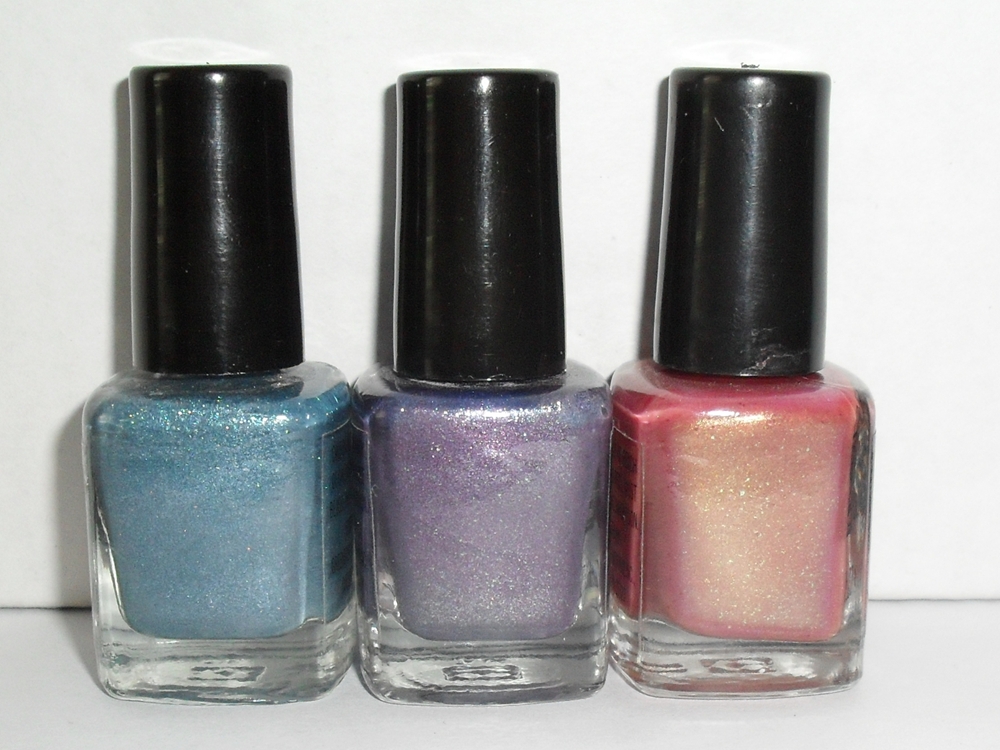
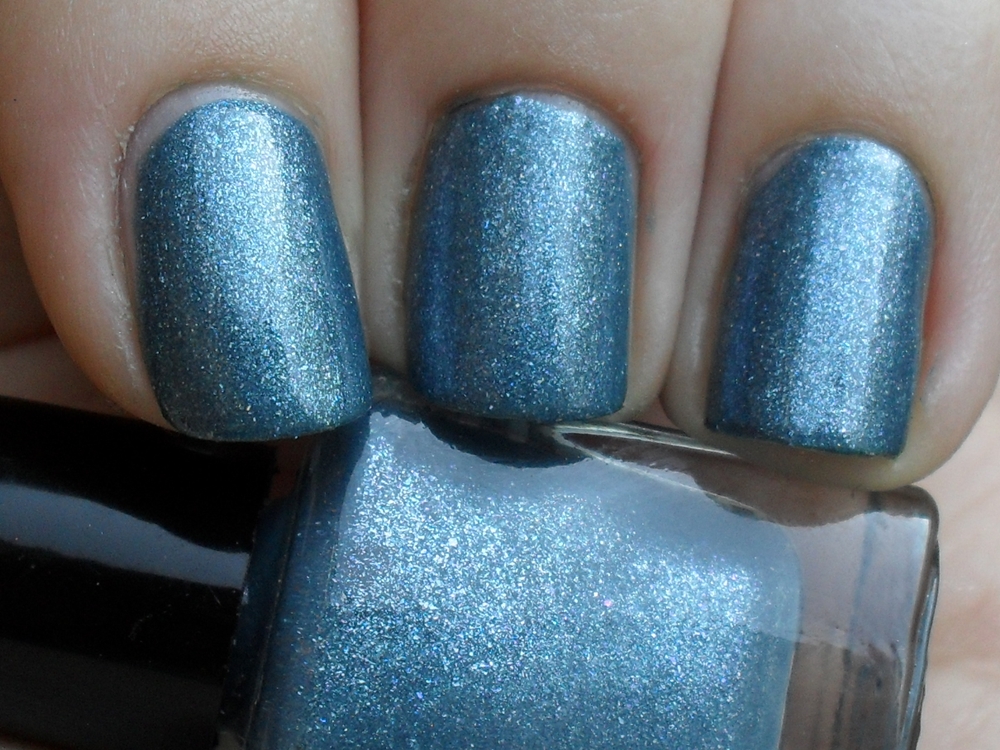
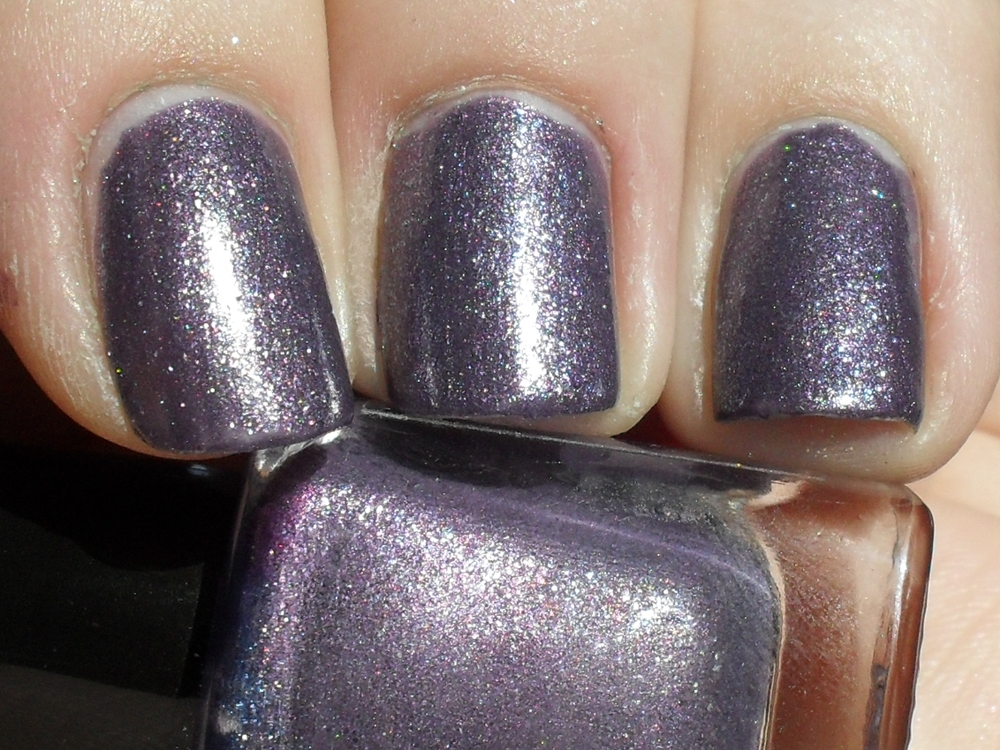
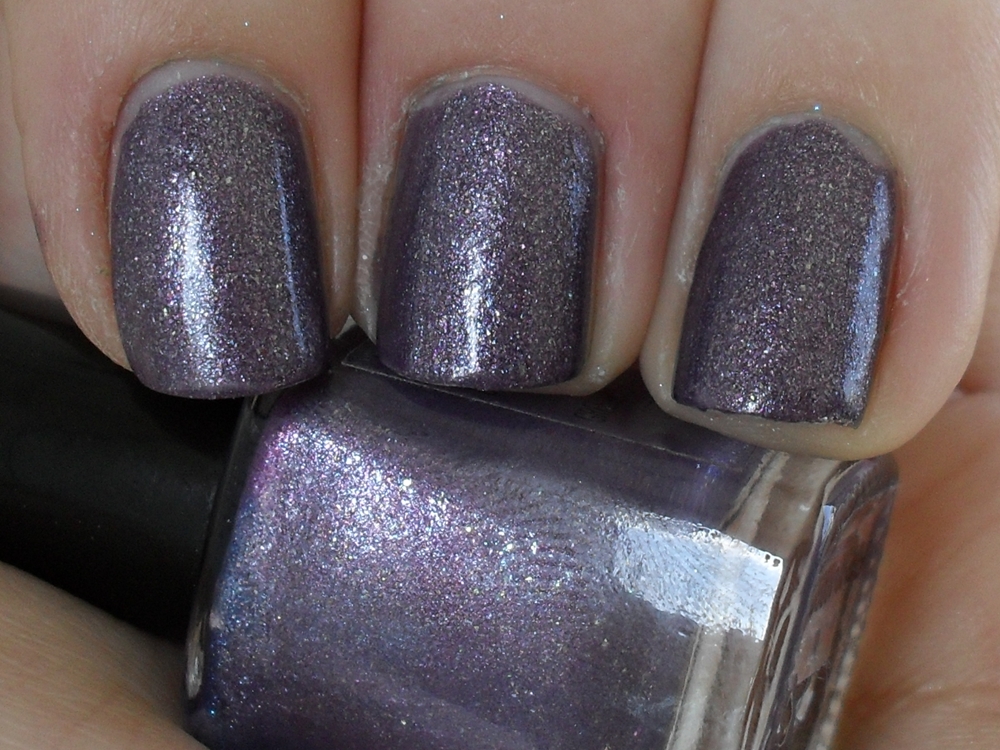
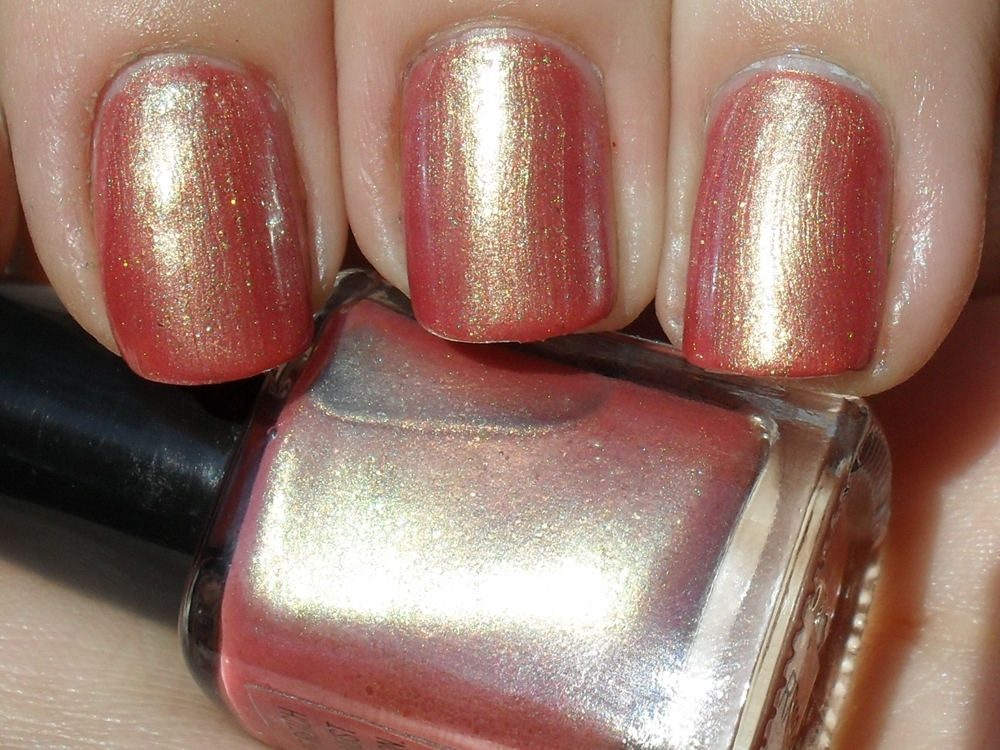
Here some frankens I swatched a long time ago and made even longer ago (at least a year and a half ago).  I don't have any clue what I used to make them because I'm terrible at writing things down.  My usual strategy for creating frankens is just to keep adding random crap until I get bored. Sometimes it works out okay. Oh and none of these have names because I'm terrible at naming.


Shimmery blue franken in the sun
Shimmery blue franken in the shade
Shimmery purple franken in the sun
Shimmery purple franken in the shade
Ugly gold/coral franken in the sun
When making this one I had a specific goal in mind- to make the ugliest polish I could.  Well, it turned out that I kinda liked it.

Ugly gold/coral franken in the shade

Thank you for reading and have a great day/night/whatever!

Sunday, June 26, 2011

Week 12: Shopping my Stash for Untried Polish- Holographic Glitter Frankenpolish

Here is a polish I made and then promptly forgot about.  I actually wore it on my toes after I made it, but never on my fingers.  Glitter is such a PITA, but I've been wearing it a lot lately because I don't have time to change my nail polish every other day like I used to, and glitter stays on my nails forever without chipping. I've been resorting to peeling it off when I get tired of it, which isn't doing my nails any favors, but it is rather satisfying.
This franken was incredibly easy.  I have a little glass vial of holographic glitter from Wet n Wild (I think it was from one of their seasonal collections- maybe Halloween?) and I just dumped a bunch in some clear nail polish and added some metal balls to help with mixing.  It's gorgeous but it dries as gritty as sandpaper.  I think I used 3 coats of top coat to get it smooth enough to satisfy me. I've been wearing the polish for over a week now and I only have the tiniest bit of tip wear.  This glitter sticks to my nails like cement.  I am not looking forward to removal!  Although I'll probably give in and try to peel it off.  I actually took a picture of my non-swatching hand.  It was awkward, but I managed to sacrifice my comfort in the name of the blog! Oh, and click here to see untrieds from previous weeks.

This is two coats with base and top coat. 

Frankenpolish- Holographic Glitter in the sun


Thank you for reading and have a great day/night/whatever!

Friday, June 17, 2011

Frankenpolishes- A Meh, A Fail, and A Success

Ugh, I've been so busy lately.  I haven't even had time to respond to comments lately.  I feel terrible about it; the comments really make my day.  It's amazing to me that people care enough about my pictures and what I have to say to take time from their lives to leave me a message!  So I apologize for not responding.  Hopefully soon I get used to my new schedule and learn to manage my time better!

Every now and then I get a feeling where I must.do.something.creative or I feel like I'll explode.  I'm terrible at art, so I usually do the closest thing I can to art, mixing random nail polishes together.  Like my attempts to paint or draw, my polishes usually look a lot better in my head than they do in real life.  I KNOW this is going to happen everytime I attempt "art" but it still manages to surprise me every time when it comes out looking like poop.  Oh, well, at least I am a talented artist on the inside.  It's the inside that counts right?  Oh wait, that phrase only applies to beauty.  Well, crap.

Anyway, I'll subject you to some of my franken attempts.  Like the post title mentions, I have a failure, a (semi) success, and one I am ambivalent about.  I'll go from ugly to pretty, just because I like to save the best for last.  Oh, and only one has a name, mostly because i'm terrible at thinking of names and also because I don't really care about names anyway!

Oh, and these swatches are obviously from when my nails were longer than my current nubs.

Unamed pinky white franken- in the sun
I WANTED to make an off-white polish with a pink duochrome/sheen/shimmer (would have settled for any of those three), but it just came out a pinky-white creme with a tiny amount of shimmer that is barely visible.  I don't remember everything I used- I just started pouring in random things once I realized my initial plan wasn't working out.  I have a Loreal HIP pigment called Exciting that is a creamy white with pink flash and that is all I figured I needed to get the polish I wanted.  It didn't work however so I was just left with this monstrosity.

This is 3 coats.

Unamed pinky white franken- in the shade

Absurdity franken- in the sun
This is the meh.  I made this one when Chanel Paradoxal was at the height of it's popularity and there was no way I was going to spend Chanel prices on it.  Of course this isn't really close to Paradoxal, but I was satisfied enough that when I was done I promptly forgot about the polish I just created AND Paradoxal.  And of course I don't remember what I used to make it either.

This was 2 coats.

Absurdity franken- in the shade
Unamed green holo-ish franken- in the sun
Yay! Finally one I like!  And this one I was smart enough to write the recipe on a piece of paper and tape it to the cap.  I used approximately a third each of the holographic Milani polishes in 3D (gold) and Cyberspace (light blue). I then added a third of OPI Catch Me In Your Net.  It isn't super holo unless you're in the sun, but it is pretty sparkly.

This was 2 coats.

Unamed green holo-ish franken- in the shade

So there ya go.  I have 3 more frankens I took pictures of, so I can post those sometime if you want.  I'm really itching to make more frankens but I ran out of bottles!  The little bottles you see here were from packs of three water-based polishes from the dollar store.  Since the polish was water-based (and completely useless) I was able to just wash these out, dry them and reuse 'em.


Thank you for reading and have a great day/night/whatever!
Related Posts Plugin for WordPress, Blogger...